
Building your own 12V 314Ah Lithium (LiFePO4) Battery is one of the most cost-effective and rewarding upgrades you can make for your RV, solar off-grid cabin, or EV project in Pakistan. In this comprehensive guide, we will walk you through the entire assembly process step-by-step.
A 12V 314Ah setup yields roughly 4,000 Watt-hours (4kWh) of usable energy. When paired with high-quality prismatic cells and an active-balancing smart BMS, this battery will outlast and outperform traditional lead-acid batteries by a landslide.
Step 1: The Required Components
To safely and successfully build a 12V 314Ah pack, you will need the following components. Note: Always use proper protective gear, including insulated tools and safety glasses, when handling raw battery cells.
1. Four (4) 3.2V 314Ah LiFePO4 Prismatic Cells
You need four pristine Grade-A cells. These will be wired in series (4S) to create your 12V nominal pack.
[PLACEHOLDER FOR YOUR 3.2V 314Ah CELLS PRODUCT]
(When you stock individual 314Ah cells, replace this block with your shortcode)
2. The Battery Management System (BMS)
The BMS is the brain of your battery. For a 12V 4S system, we highly recommend a JK Smart BMS with built-in Active Balancing. It monitors individual cell voltages and prevents overcharging or deep discharging.
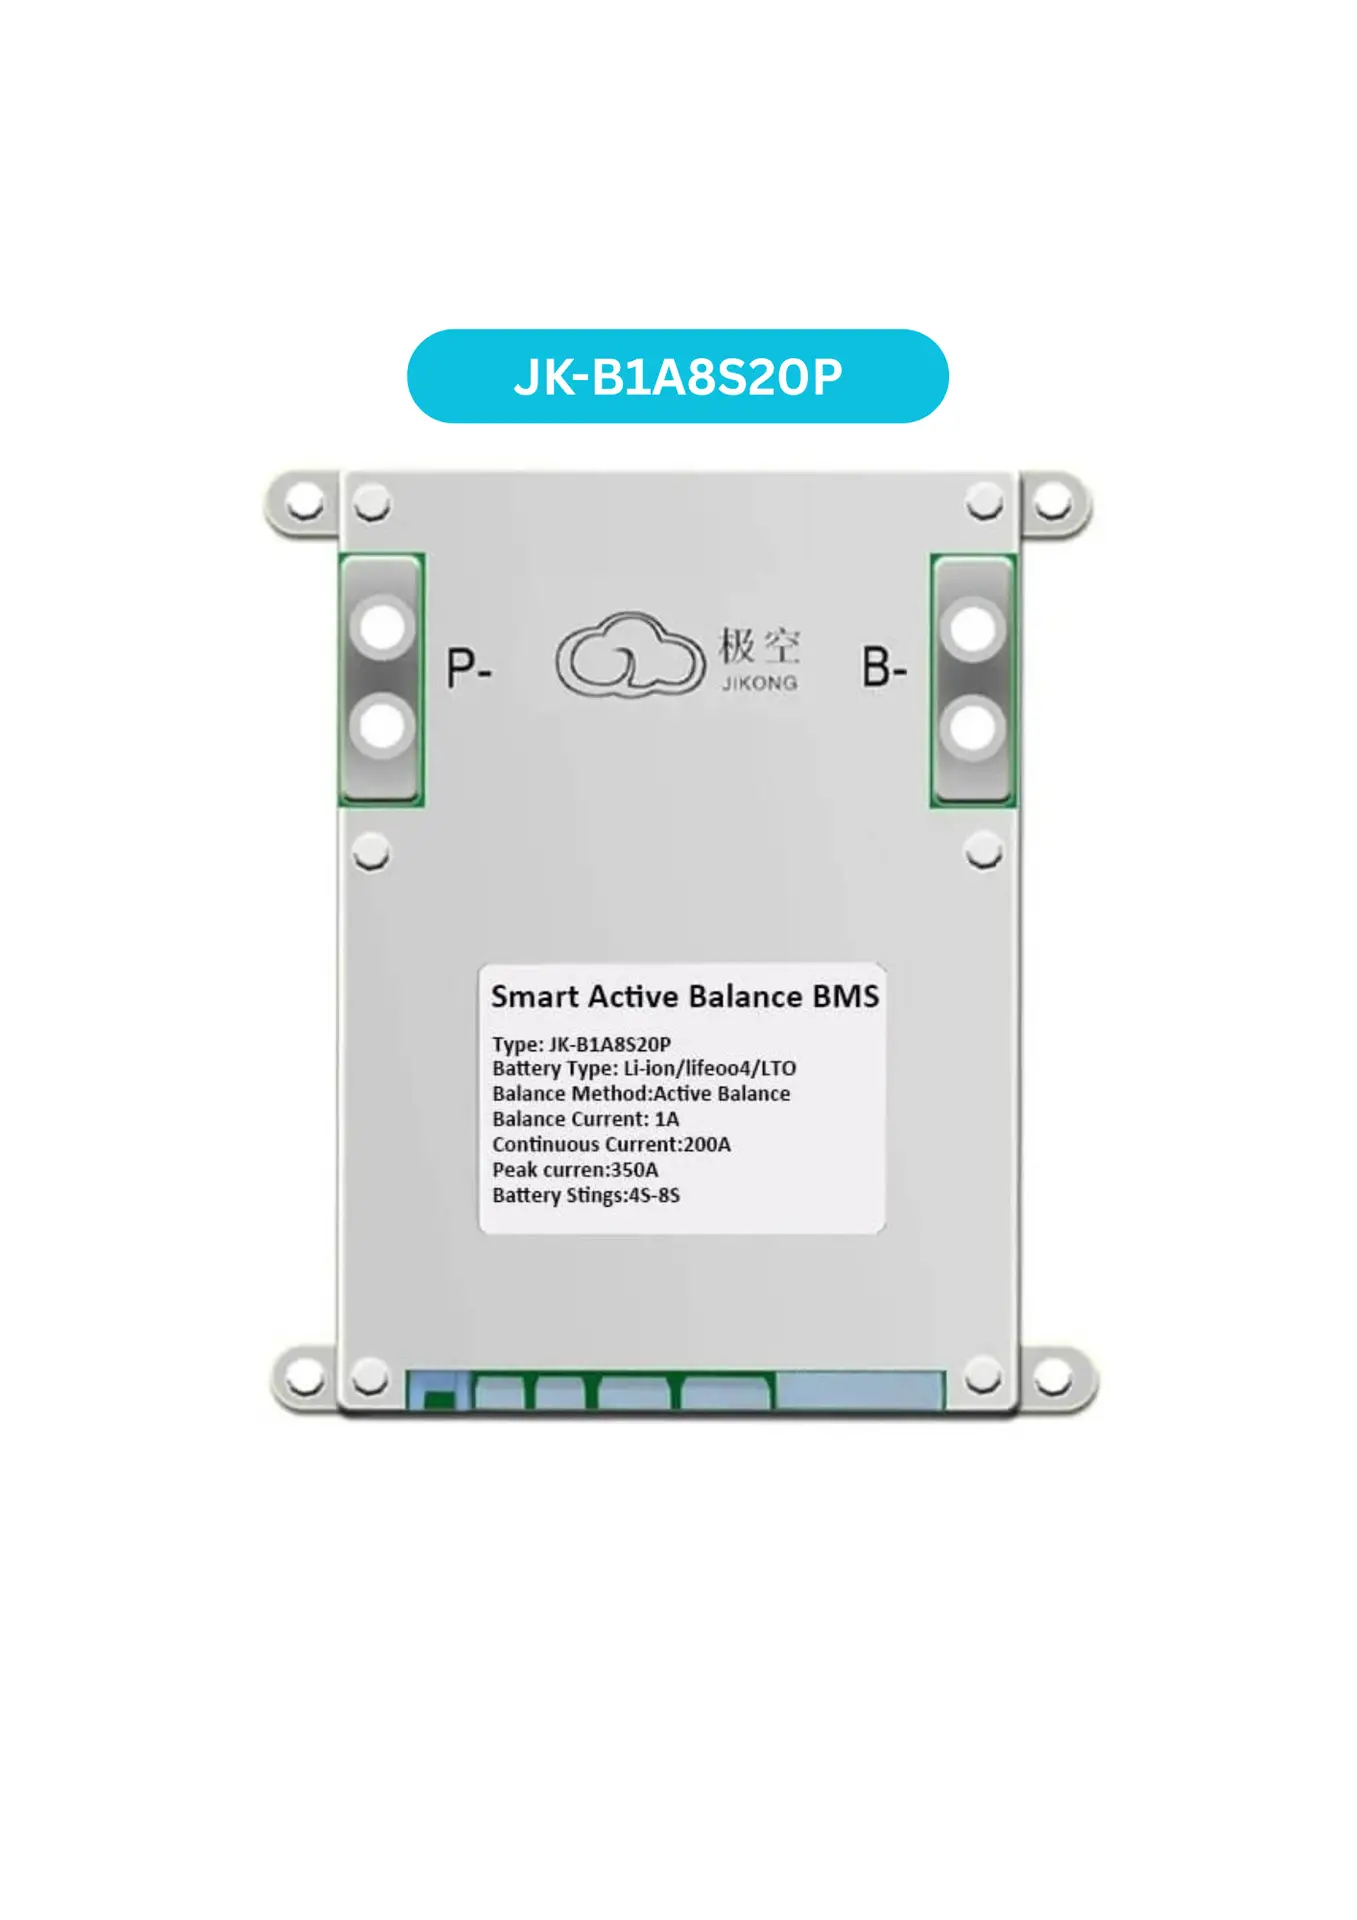
JK Smart BMS 4S-8S 200A with 1A Active Balancing – JK-B1A8S20P
Heavy-duty capability optimized explicitly for rigorous loadshedding resistance.
3. Copper Busbars and Lug Terminals
You will need pure copper busbars to connect your cells together, along with heavy-duty tinned copper ring terminals (lugs) to attach your BMS leads and main power cables.
[PLACEHOLDER FOR COPPER BUSBARS AND TERMINALS]
Step 2: Top Balancing Your Cells
Before connecting your cells in series to make 12V, you must top-balance them. This ensures every cell is at the exact same state of charge, preventing your BMS from cutting off prematurely.
- Connect all 4 cells in parallel (Positive to Positive, Negative to Negative).
- Attach a variable bench power supply set to 3.65V.
- Let the power supply charge the parallel pack until the amperage drops to 0.0A. This can take several days depending on the output of your charger.
Once all cells are resting perfectly at 3.65V, disconnect them. They are now top-balanced.
Step 3: Wiring the Battery (4S Configuration)
Now, wire the cells in Series. Place the cells side-by-side. Connect the Positive terminal of Cell 1 to the Negative terminal of Cell 2. Connect the Positive of Cell 2 to the Negative of Cell 3. Connect the Positive of Cell 3 to the Negative of Cell 4.
You will be left with the main Negative terminal on Cell 1 and the main Positive terminal on Cell 4. Measuring across these two terminals should yield approximately 13.2V to 14.6V.
Step 4: Installing the BMS
Following the wiring diagram provided by your JK Smart BMS:
- Connect the main B- wire of the BMS to the main Negative terminal of your battery pack.
- Connect the delicate balance wires starting from the main negative, and progressing up the voltage chain to the main positive.
- Ensure you plug the balance harness into the BMS only after verifying the voltages with a multimeter!
Need visual assistance? Check out this complete wiring walkthrough from our OffGridGuide Pakistan channel:
(Please insert your specific 12V assembly video URL here)
Check out our bite-sized tips and DIY tricks on our TikTok Channel for more fast-paced green energy content!
Wrapping Up
Wrap your cells tightly using fiberglass tape or build a compressive wooden/acrylic box to prevent them from swelling. Your 12V 314Ah lithium battery is now ready to power your inverters, off-grid cabins, or 12V appliances for thousands of cycles!